How to Fix Missing MySQL Extension Error in WordPress
WordPress is a powerful and popular content management system used by millions of websites worldwide. Besides, it relies on various server-side technologies, including MySQL, to store and manage data. Occasionally, users may encounter a “Missing MySQL Extension” error, which can be frustrating but is usually easy to fix. In this guide, we will walk you through the steps to resolve this issue and get your WordPress site up and running smoothly.
What Causes the “Missing MySQL Extension” Error?
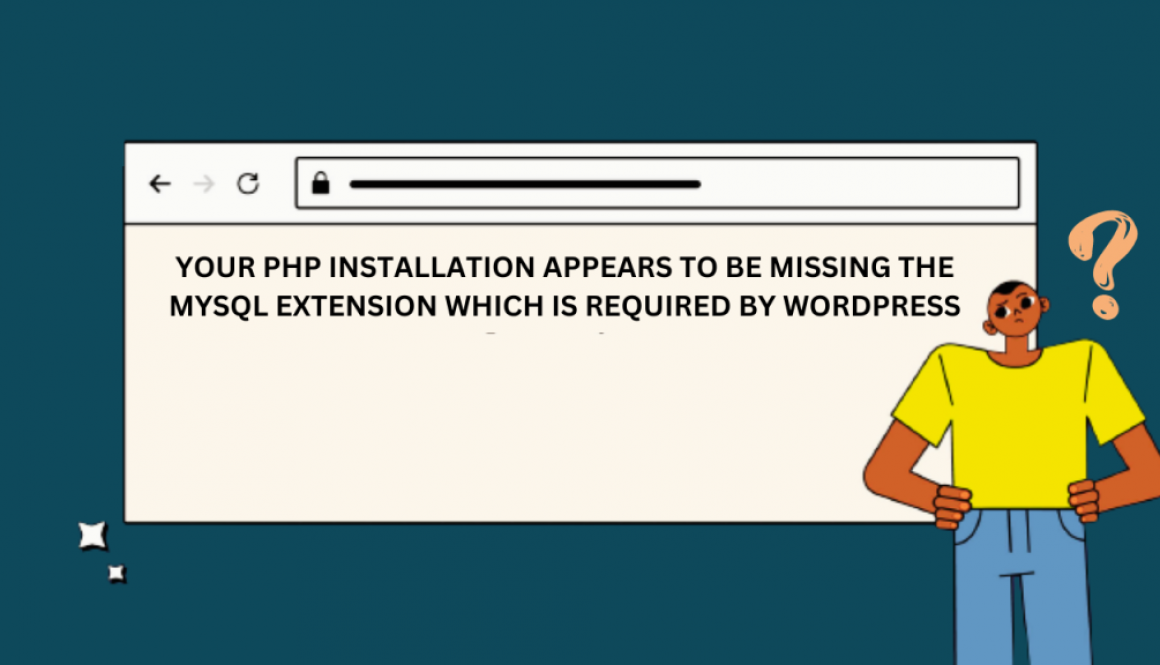
The “Missing MySQL Extension” error typically occurs when your server lacks the necessary PHP extension to connect to the MySQL database. WordPress relies heavily on MySQL to manage and store content, so this error can disrupt the functionality of your website.
Step 1: Check Your PHP Version
Before proceeding with any fixes, it’s essential to ensure that you are using a compatible PHP version with WordPress. At the time of writing this article, WordPress recommends using PHP 7.4 or later. You can check your PHP version by creating a simple PHP script:
<?php
phpinfo();
?>
Save this script as phpinfo.php, upload it to your website’s root directory, and access it through your web browser. Look for the PHP version information on the page.
Step 2: Enable MySQL Extension
If you find that you are using a compatible PHP version, but the MySQL extension is still missing, you need to enable it. Follow these steps to enable the MySQL extension:
For Windows Servers:
- Locate your PHP installation directory (e.g., C:\PHP).
- Open the php.ini file in a text editor.
- Search for the following line and remove the semicolon (;) at the beginning:
;extension=mysqli
4. Save the changes.
5. Restart your web server (e.g., Apache or Nginx).
For Linux Servers (e.g., Ubuntu):
- SSH into your server.
- Open the PHP configuration file using a text editor (e.g., nano or vim). The file is typically located at /etc/php/<your-php-version>/cli/php.ini.
- Look for the following line and uncomment it by removing the semicolon (;) at the beginning if necessary:
;extension=mysqli
4. Save the changes and exit the text editor.
5. Restart the PHP service to apply the changes:
sudo service php<your-php-version>-fpm restart
Step 3: Verify the MySQL Extension is Loaded
After enabling the MySQL extension, it’s crucial to verify that it’s loaded correctly. Create a PHP script named mysql_check.php with the following code:
<?php
if (extension_loaded('mysqli')) {
echo "MySQLi extension is enabled.";
} else {
echo "MySQLi extension is not enabled.";
}
?>
Upload this script to your website’s root directory and access it through your web browser. You should see a message confirming that the MySQLi extension is enabled.
The “Missing MySQL Extension” error in WordPress can be a hindrance, but it’s usually easy to fix by enabling the MySQL extension in your PHP configuration. By following the steps outlined in this guide, you should be able to resolve the issue and ensure your WordPress website operates seamlessly. Remember to keep your PHP version up to date and perform regular maintenance to prevent similar issues in the future.

