
How to Create a WordPress Plugin
If you want to create a WordPress plugin but don’t know where to start, this guide is for you! We will walk you through the basics of plugin development.
A plugin generally consists 0of PHP code, JavaScript code, CSS stylesheets, and template files. The exact combination will depend on the particular plugin. Some plugins are small, with just one PHP file. While others are much larger, with multiple files of each type.
Methods to create a WordPress plugin:
Step 1: Choose a Plugin Name
The first step in developing a WordPress plugin is to give an official name. However, the name should be relevant to the purpose and unique from other plugins. Checking the WordPress Plugin Directory and performing a few Google searches can help to determine if your desired name is already in use.
Step 2: Create Your Plugin Folder and PHP File
To create a plugin, navigate to the wp-content/plugins folder and create a new folder. Inside this new folder, create a file named after your plugin. The important thing is the .php extension, but you can name it according to your want. Open the file in a text editor and add a plugin header to your plugin file. This comment block tells WordPress the name of your plugin, version, website, and plugin author name.
<?php
/**
* Plugin Name: test-plugin
* Plugin URI: https://www.your-site.com/
* Description: Test.
* Version: 0.1
* Author: your-name
* Author URI: https://www.your-site.com/
**/
After that, Go back to WordPress Dashboard. In the Plugin option, you will see the new plugin.

However, this plugin won’t do anything yet if you were to activate it.
Step 3: Add Code to Your Plugin
When you add code to your plugin, it might not do anything until you trigger it somehow. There are a few methods of activating your code or bringing in code from WordPress.
- Functions
- Action and filter hooks
- Classes
Functions: Functions are the building blocks of WordPress code. They make it easy to start writing your plugins and help you code more quickly. You will find plenty of functions in your theme files too.
Each function has its name, followed by braces and the code inside those braces. Your plugin’s code won’t run unless you call the function somehow. The simplest way to do that is by directly calling the function somewhere else in your code.
Action and filter hooks: Hooks are like bridges that allow plugins to access and interact with the existing code of WordPress. Using them, developers can add or change functionality in their plugins without directly editing the core code. That makes it possible to extend the functionality of WordPress without compromising the stability of the site.
There are two types of hooks that you will need to consider when creating your plugin:
Actions: These add or change WordPress functionality and make up the majority of hooks.
Filters: These are used to modify the functionality of actions.
To code your plugin, familiarize yourself with hooks and how they work. Fortunately, the Plugin Developer Handbook can help you get started. Besides, User Meta has their Developer Handbook containing a list of actions and filters with examples.
add_action syntax is like this:
add_action(“custom_action_name”, “custom_function_name”, priority, number_of_acceptable_arguments);
add_filter syntax is like this:
add_filter(‘filter_hook_name’,’custom_function_name’,priority);
Step 4: Test Your Plugin
As you continue developing your plugin, save your work regularly and test your changes on a staging site. Also, keep an eye out for any security issues that may arise. Once you’re satisfied with your plugin, try it on a live site.
Make sure to thoroughly test your plugin before doing so. It’s also a good idea to back up your live site before testing the plugin. If you’re happy with the performance of your plugin, offer it to other developers for feedback or testing purposes.
Step 5: Distribute Your Plugin
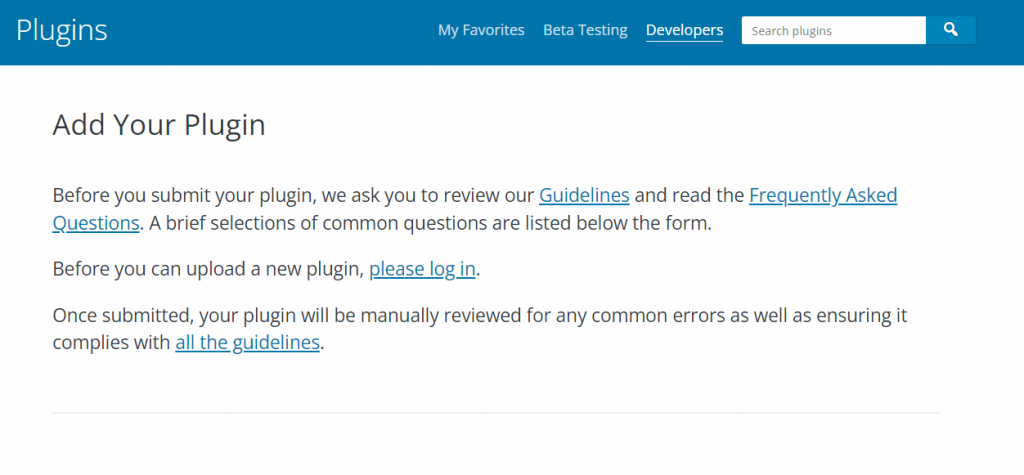
Your plugin is now ready to be reviewed by WordPress.org’s plugins team. To submit your plugin, you will need a free WordPress.org account. Visit the Add Your Plugin page and log in.
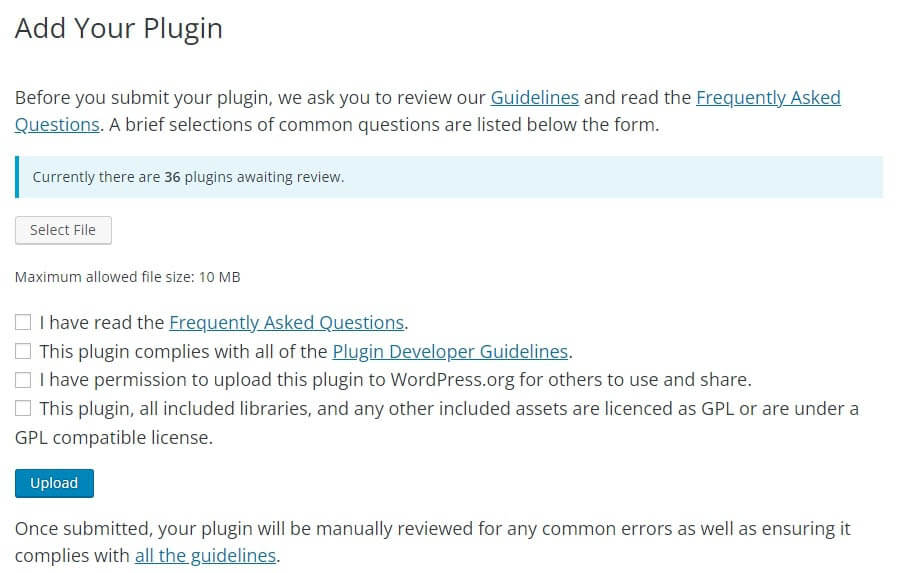
 Once logged in, you’ll be able to upload and submit your plugin for review. Simply click on the Select File button, select your plugin’s zip file, and then click on the Upload button.
The WordPress.org plugin review team will then take a look at your plugin code for common errors and security checks. Once approved, you’ll receive an email from the plugins team.
Besides uploading your plugin to the WordPress directory, you could create a website for it. You could also include documentation, tutorials, and marketing pieces of information.