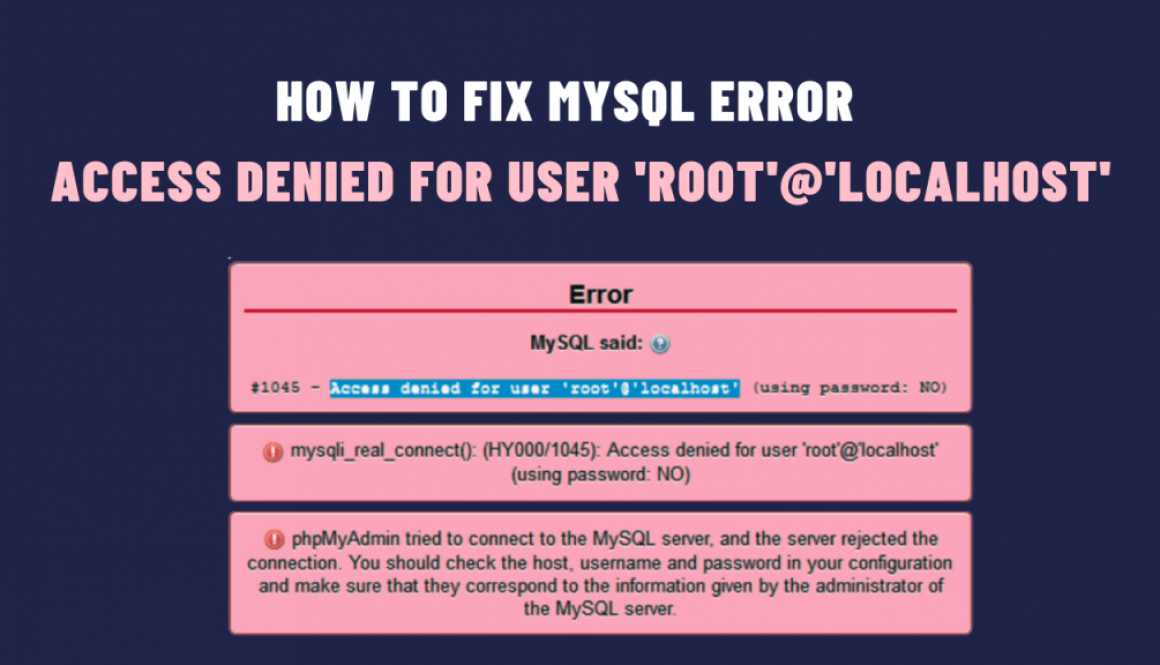
How to Fix MySQL Error: Access Denied for User ‘root’@’localhost’
MySQL is one of the most popular open-source relational database management systems. When working with MySQL, one of the most common ones is “Access Denied for User ‘root’@’localhost’.” This error typically occurs when you try to connect to your MySQL server, and MySQL denies access to the ‘root’ user. In this blog post, we will explore the reasons and solutions for how to fix it.
Understanding the Error
The error message says that the user ‘root’ does not have permission to access the MySQL server from the ‘localhost’ host. However, this can happen for several reasons:
- Incorrect Password: The most common reason for this error is entering an incorrect password for the ‘root’ user.
- Privilege Issues: The ‘root’ user may not have the necessary privileges to connect to the MySQL server from the ‘localhost’ host.
- MySQL Server Configuration: Also, there might be misconfigurations in the MySQL server that prevent the ‘root’ user from accessing it.
- Hostname Resolution: The hostname ‘localhost’ may not be resolving correctly on your system.
Solution of the Error
Step 1: Verify the MySQL Service Status
Before proceeding with any troubleshooting, ensure that the MySQL service is running. You can do this by running the following command:
sudo service mysql status
If the service is not running, start it using:
sudo service mysql start
Step 2: Verify the MySQL ‘root’ Password
The first thing you should check is whether you are using the correct password for the ‘root’ user. Then, access the MySQL command line as follows:
mysql -u root -p
However, you will be prompted to enter the ‘root’ password. If you can’t remember it, you can reset it if you have the necessary privileges. To reset the ‘root’ password, follow these steps:
a. Stop the MySQL service:
sudo service mysql stop
b. Start MySQL in safe mode:
sudo mysqld_safe --skip-grant-tables &
c. Log in to MySQL without a password:
mysql -u root
d. Update the ‘root’ password:
UPDATE mysql.user SET authentication_string=PASSWORD('new_password') WHERE User='root';
Then, replace ‘new_password’ with your desired password.
e. Flush privileges:
FLUSH PRIVILEGES;
f. Exit MySQL:
EXIT;
g. Stop MySQL safe mode:
sudo service mysql stop
h. Start the MySQL service:
sudo service mysql start
Then, you should be able to access MySQL with the new ‘root’ password.
Step 3: Check User Privileges
If you still encounter the error, it’s possible that the ‘root’ user does not have the necessary privileges. Besides, Log in to MySQL as a user with administrative privileges (e.g., ‘root’ or another user with similar privileges), and grant the required access to ‘root’:
GRANT ALL PRIVILEGES ON *.* TO 'root'@'localhost' IDENTIFIED BY 'password' WITH GRANT OPTION;
Then, replace ‘password’ with your new password for the ‘root’ user.
Step 4: Check Hostname Resolution
In some cases, the ‘localhost’ hostname may not resolve correctly. So, you can try using the IP address of your localhost instead of ‘localhost’ to connect to MySQL:
mysql -u root -p -h 127.0.0.1
This bypasses potential hostname resolution issues.
In conclusion, this Access Denied for User ‘root’@’localhost’ error in MySQL can be frustrating, but it’s easy to resolve by following the steps outlined in this blog post. Whether it’s a password issue, privilege problem, or hostname resolution glitch, you should now have the tools and knowledge to diagnose and fix the error.

