General Settings

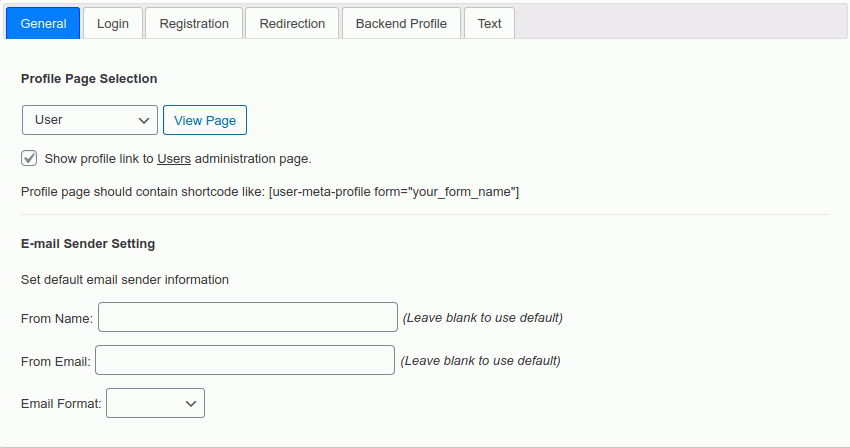
In this section, you control where the front-end profile is going to be displayed. The profile page is any page where you put the shortcode. The short-code should be like
[user-meta-profile form="your_form_name_here"]
After clicking on the box exact left of the view page button, you will get a list of all the pages that you have created. Next, you have to choose a page from there and the short-code mentioned above must be where you want your profile display.
It is a must that you create a page beforehand and select it from the selection box after that page you’ve created.
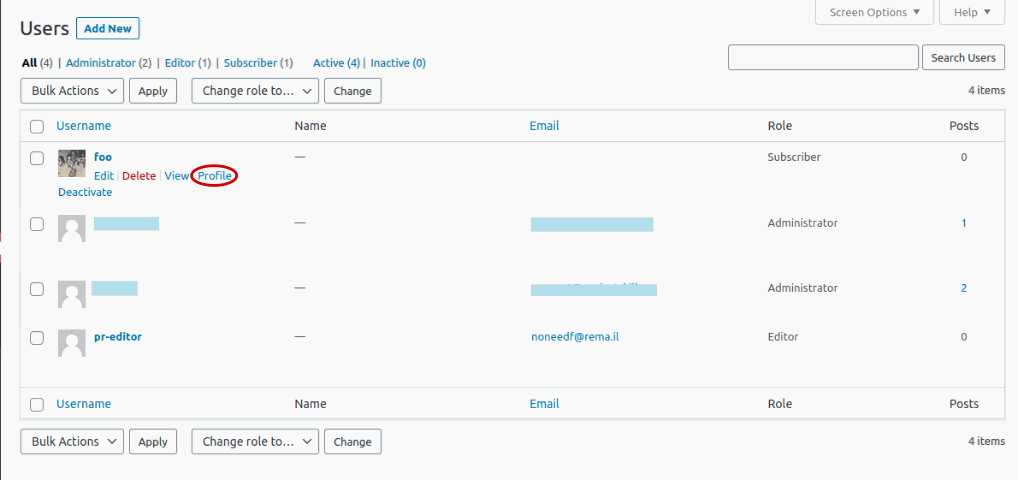
The checkbox next to the selection section, lets you decide whether you want a dedicated link to this profile page or not. You will see this link in the users option in the default users list of WordPress.

Email Sender Settings
This section is pretty straight forward, you can set the notification emails’ details, that are sent automatically. Besides, the first input field will set what name the user will see on their email and the second input field determines where the email will be form.
The email format has two options – text and HTML. However, choose “Text” if your notification does not need advanced formatting like clickable links or images. If you need them, then choose “HTML“.
